
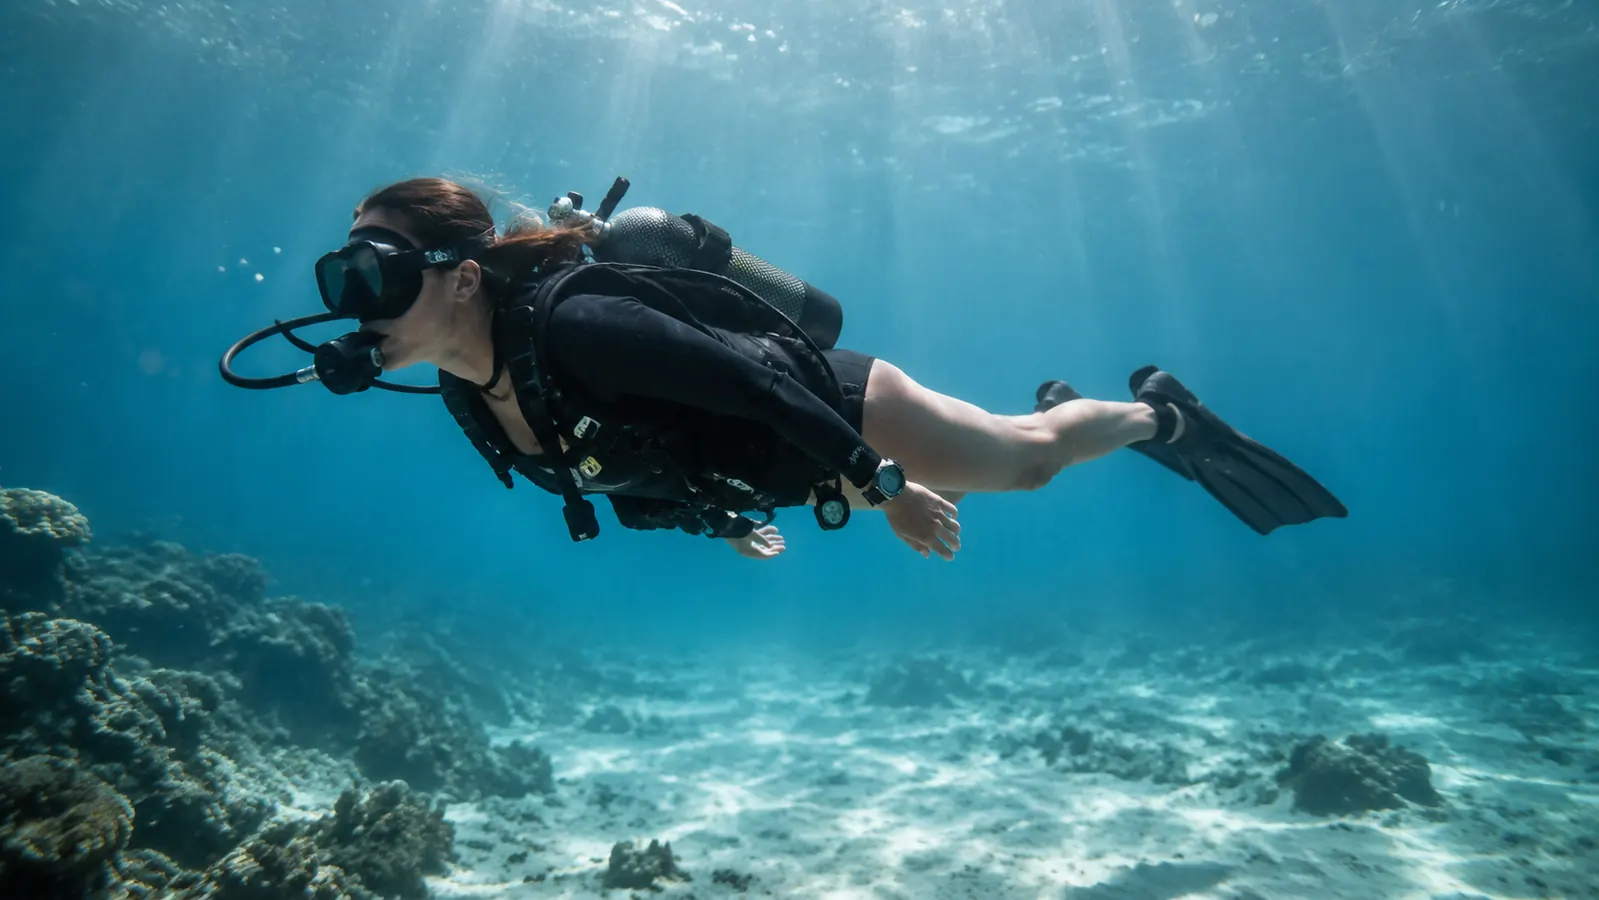
The closest thing I do in the shop to a dive skill is set the bubble on a long spirit level. Neutral buoyancy is the underwater version of the exact same discipline. And the tool that made it finally click for me, after two years of diving it nearly every weekend, is the Cressi Patrol BCD, a back-inflation jacket with the lift sitting behind my shoulders where my body weight already lives. Most divers never get to neutral because nobody teaches them the order of operations. We load too much lead, hold too much air, and buy gear hoping it will do the thinking for us. Then we burn a tank in forty minutes fighting ourselves and call it a workout.
I lived that for my first couple dozen dives. Sinking to the bottom, blasting air, kicking back up, always moving, never still, the complete opposite of the calm you see in the videos of divers who look weightless. Then a patient divemaster on a boat that should have been annoyed with me walked me through a simple weight check and a way to set my baseline, and it clicked. I stopped swimming and started being there. This is that method, written down the way I actually run it, and every one of the five steps works no matter what BCD you are wearing. The Cressi Patrol just gives you a better starting point.
It comes down to five checks I run on every dive, most of them inside the first ten minutes, and you can do all of it in rental gear. But I will be straight with you from the top: a back-inflation BCD like the Cressi Patrol makes the whole job easier, because the lift sits behind you, right where your body weight sits, instead of getting wrapped around your waist and tipping you backward. I have been diving this one for two years and it still trims the same as it did the first day. Better starting point, less to fix.
A BCD that trims itself is half your buoyancy battle
The Cressi Patrol puts the lift behind your shoulders, right where your body weight already sits, so you start every dive closer to neutral and spend less time fighting your own air.
Amazon Check Today's Price on Amazon →Step 1: Set your weight before you ever splash
Weight is the foundation, and nearly every new diver is overweighted. Not on purpose. The default is to overdo it because a diver who sinks out of sight at the surface looks like he has it handled, while a buoyant one bobbing around trying to get down looks like a problem. So we load an extra couple of pounds to be safe, and that extra weight is where a lot of misery starts. Carry two pounds too many and you spend the whole dive swimming up with your arms and kicking hard just to hold a depth, which turns forty minutes of bottom time into twenty before you even reach for your air.
Here is the surfacing check I run before I ever splash, in calm water at the anchor. Empty your BCD completely, take a normal breath, and float. You want your head at about eye level with the water, not your chin and not the top of your head. Now take a deep breath and you should rise to about your mouth. If you sink right away with a normal breath, you are carrying too much lead. If you float like a cork, you need a touch more. That narrow window is the honest start.
I had done this wrong for a full year. I dove my 7mm in cold water with twenty-two pounds of lead because heavy felt stable and nobody told me different. A divemaster ran this exact check with me on a pier one afternoon and I came out at sixteen pounds, six pounds lighter, which is roughly the weight of a gallon of milk. I was not wrong because I was weak. I was wrong because nobody had shown me the check. It took one sunny afternoon to fix.
Step 2: Set your baseline flat at ten feet
Weight right, now get in the water and take the anchor line down. As you descend, add air in the shortest taps you can manage so you do not blow right past neutral on the way down. The instinct is to hold the button and chase the descent, but air expands as you get shallower and the bladder reacts slowly, so a long hold compounds. I add a half-second burst, pause, watch my depth gauge, and only tap again if I am still drifting down. One or two steady taps beat one long dive of over-correcting.
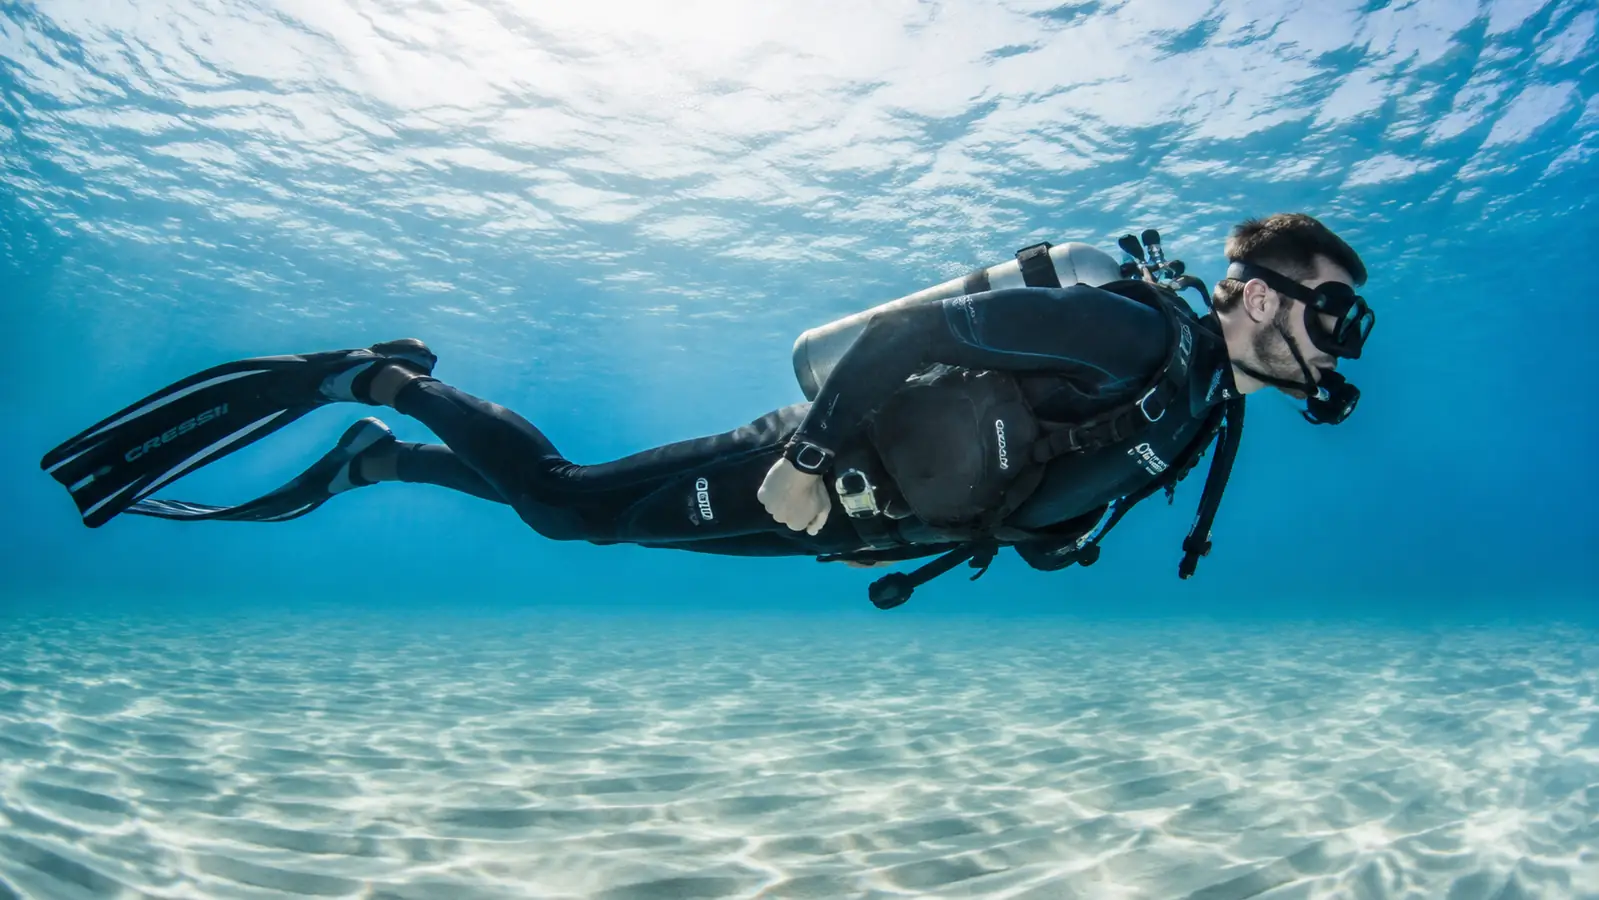
Pull up around ten feet, your safety-stop depth, and set your baseline there. This is the anchoring point, the equivalent of pulling the bubble to center on the workbench before you start. Tap the inflator or the dump until, on a normal breath, you do not rise and you do not sink. You simply hang. Now take a deep breath and you should drift upward a little, and on a full exhale drift back down. That gentle range is neutral, the point where your weight and your air are honestly matched to the water at that depth.
Get it right at ten feet and it stays close to right everywhere else, because you are not fighting a bad starting point. Most divers who look messy on the reef are not clumsy. They set their baseline at the bottom with too much air and too much lead and then spend the whole dive chasing it. Fix it once, early, shallow, and the rest of the dive is small corrections instead of big ones.
Step 3: Breathe first, correct second
Your lungs are the fine adjuster, and they are faster and cheaper than the inflator. A normal full breath changes your buoyancy by a couple of pounds, which is plenty to hold a level hover for ten or fifteen seconds. Most of being still in the water is steady, slow breathing anyway, the kind of breathing you already know how to do on land when you are trying not to disturb a measurement. When you catch yourself drifting, use your breath to correct first. Reach for the inflator only when breathing genuinely cannot hold the line.
Here is the carpenter's rule that cracked it for me. On land, when the level is a hair off, you tap the shim under the bench leg; you do not take the whole bench apart. Underwater it is the same. If you start drifting up, ease your exhale and let yourself settle a touch. If you sink, take a fuller breath and let yourself come up. Half a breath is worth more than half a second on the inflator, and it costs you no tank pressure at all.
The mistake I see everywhere is people doing it backward, holding their breath to stay at a depth instead of letting the breath be a moving adjustment. Holding your breath underwater is a bad habit for a hundred reasons, and it turns your buoyancy into a binary thing, all the way up or all the way down, instead of a smooth range. Keep the breath moving and let it do the small work. The inflator is the coarse tool; the lungs are the fine one.
Step 4: Pulse the inflator and the dump, never hold either one
The bladder reacts slow and the air inside it is buoyant, so a long hold on the inflator nearly always overshoots. You think you are adding a little lift and two seconds later you are bobbing up and grabbing for the dump. The method is the same going up as it was coming down: tap it for half a second, then wait, breathe, and check your depth. If you added too much, you now have a couple of pounds of lift riding in the wing and you vent it the same careful way.
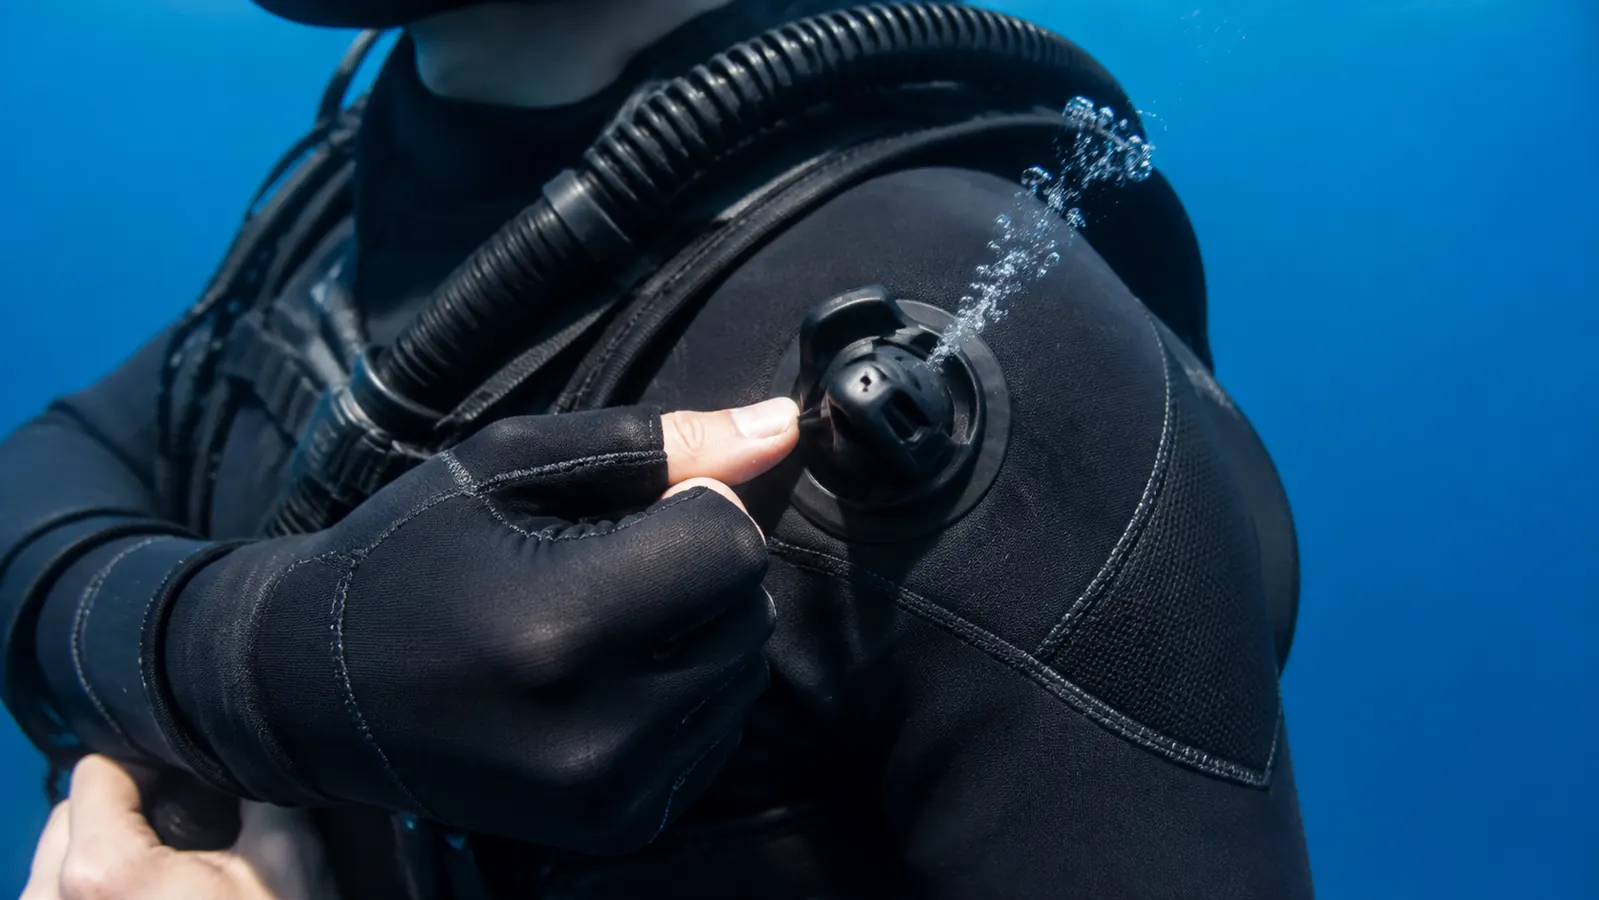
Reach for the low-pressure dump and tap that too, do not hold it open. A full vent pulls you past neutral into a slow sink, and then you are chasing yourself with the inflator again, the endless over and under that is the whole reason people give up and just wear too much weight. The secret is patience: two half-second taps with a pause and a breath between them keep far more control than one long squeeze in either direction.
Know where your dump lives before you ever need it. On a jacket BCD the air pools at the top and vents from the shoulder on whichever side the hose comes over. On a back-inflation unit like the Cressi Patrol, the lift is behind you, so you either reach over the shoulder to the dump or tip the wing slightly to let the air find the vent. Practicing that reach in the shallows, without looking, is the difference between a clean hover and a swirl of bubbles in the middle of a wreck.
Step 5: Ascend on the dump and ride it neutral to the surface
The easiest place to wreck a whole dive's nice neutral headspace is the turn to go up. People reach for the inflator to rise, which is exactly backward. You should dump a little as you begin your climb, then keep tapping the dump every few feet as you go, because the air in your BCD expands as the pressure drops. A wing that felt neutral at sixty feet wants to carry you to the surface all by itself at ten. Dumping a hair on the way up beats blasting out a lungful of air when you pop up.
This is also the safe way to do it. Riding the expanding air up too fast is how divers end up surfacing too quick, and it is why the controlled ascent from the dump beats the uncontrolled one from the inflator. Keep your rate slow, keep breathing, and tap the vent as the wing swells. Every dive computer on your wrist will be happier, and so will your ears and your head.
I finish every dive the way I started it, slow, level, and ahead of the corrections instead of behind them. At the safety stop I am neutral again and I stay that way to the surface, then I dump the last of it the moment I am up. It is the difference between surfacing like a seal and surfacing like a cork that just got popped. It took me a solid season of every-weekend diving to make it smooth, and every single dive of that learning was worth it.
What Else Helps
A few things from real water that the manual skips. Fin technique matters more than the brand of anything you wear. Slow, wide kicks from the hip, not a frantic scissor from the knee, and you hold your line with far less air fiddling. Keep your arms still and close to your body. Every inch you flail is a lever that pulls you off trim, which is why the calm divers look almost lazy. They are not lazy. They are using the least amount of effort that holds a line.
Practice the hover on a training day in the shallows, not in the middle of a dive you spent money on. I bring a buddy and a couple of plain weight buckets and we run it like a drill: hold a level hover at ten feet for a full minute without touching the inflator, then the other person walks you through your trim from the hips and the fins, angles you cannot see yourself. Two honest eyes on your trim will fix positions no amount of reading about it will.
And if you are shopping for a BCD to make all this easier, look at the back-inflation styles. The one I dive, the Cressi Patrol, is light and the wing sits so the lift is where my weight already lives, behind my shoulders, so I am correcting from a better starting point and I fly a flatter trim without thinking about it. That is not marketing, that is geometry. The lift and the weight line up, and your body gets to stop fighting the misalignment.
I went from twenty-two pounds of lead down to sixteen on a single diver's buoyancy check. Every dive got longer and easier after that.
Give your buoyancy the easy start it deserves
A back-inflation BCD like the Cressi Patrol puts the lift where your weight is, so you begin every dive closer to neutral and stop fighting to stay still.
Amazon Check Today's Price on Amazon →